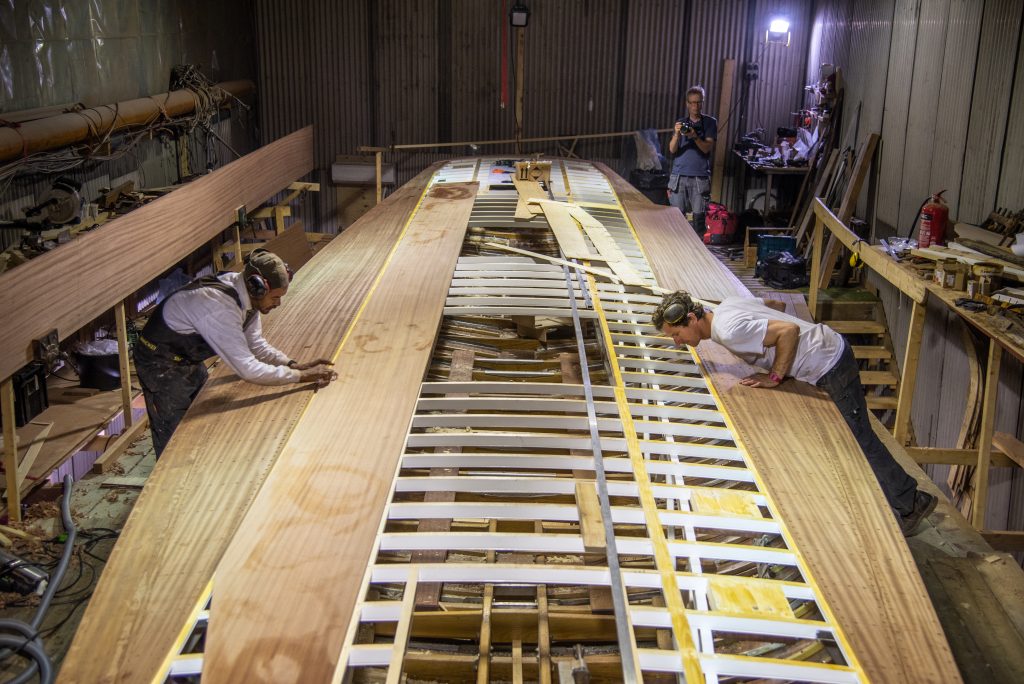
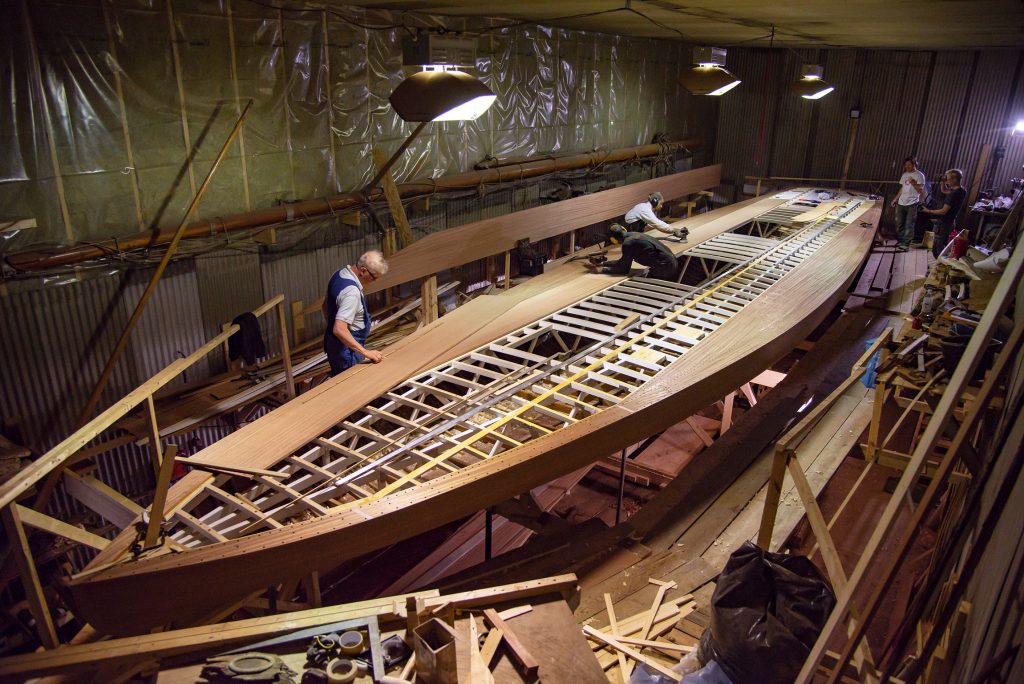
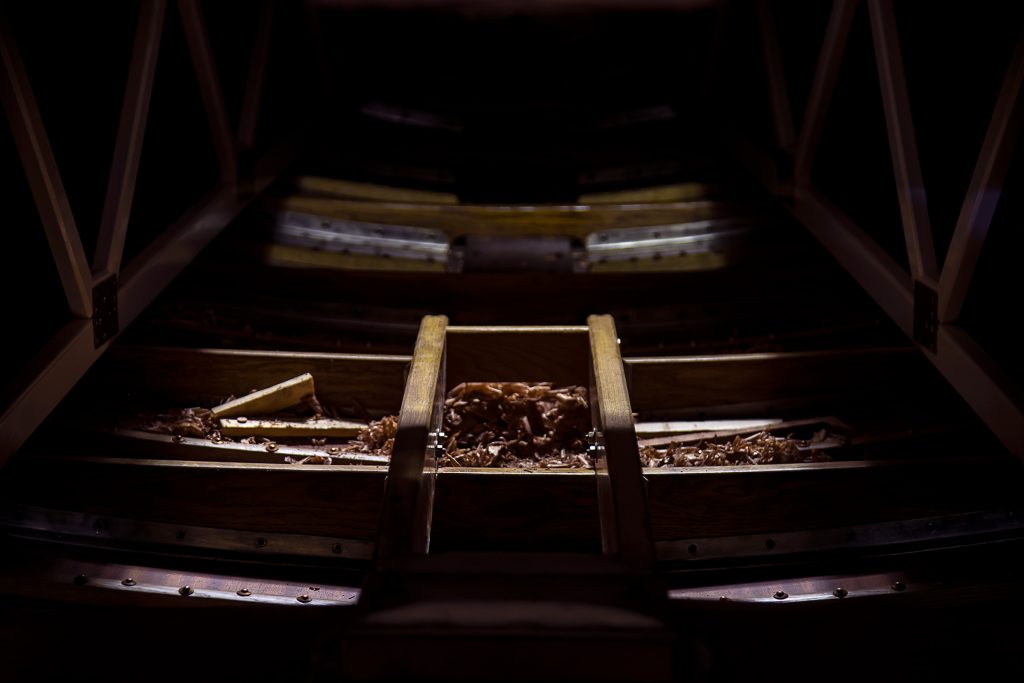
Ester’s deck is made of 16mm mahogany. We’ve measured what was left of the original deck and looked at marks on the remaining components that give us an indication of the original thickness and copied that. This is quite thin for 50’ deck and does not offer a great deal of rigidity. For this reason, the deck beams are placed every 250mm and are supported by the diagonal bracing (fakverk) previously written about. Many thanks to Leif Wikberg for the gallery below.
The boards used for Ester’s deck were exceptionally wide and long. They are over 500mm wide and 12m long in places. This means that the width of deck that one boards covers represents about 15% of the width of the deck. As there is a significant deck camber (athwartships convex shape), these boards must make a double curve. In order to do this gently, we have used damp cloths to wet the outside of the boards persuading them to curve to the shape of the beams. The reason the deck planks are so wide, is to provide longitudinal rigidity; narrower planks would be more flexible.
In boards are fastened down at regular and close intervals of approximately 50mm. This is necessary as the screws are so short. There are over 6000 screws in the deck, all supplied by Seaware, Penryn.
There is no glue on the deck planking for fear that it may split the wood. Therefore we have needed to caulk the deck seams. We have used an unconventional method of deck caulking seen only on close-seamed decks. It’s sometimes referred to as ‘Fife’ caulking. This method involves pressing a narrow groove in the edge of each plank and then fixing a thin strand of cotton into the compressed void. The two planks are then pushed hard up against each other and fastened down. The deck is then varnished. Any water that penetrates the varnish, then the wooden joint will rest in the cotton. This moisture will then be absorbed by the compressed groove, which will swell, creating a (theoretically) waterproof joint.
The final planks to be laid are hammered into place. Therefore their compressed edges are the bottom edge, essentially a pressed chamfer, instead of a groove in the middle of the plank.
Before completing the deck planking, it has been necessary to finalise the fixtures for the forestay and headsails at the front of the boat. These are phosphor bronze external fittings, brazed and TIG welded and stainless internal bracing. We are not entirely sure what the exact configuration was in 1901 and have had to study photographs of the boat with different sails to deduce what we would expect to find here.
The cockpits (2 of them) allow enough space for the foresail sheet handlers when required, for the helmsman and perhaps one more. The aft hatch allows the main sheet handler to sit securely with the sheet and not slide off the varnished deck. The forehatch is large enough for one or two essential tools to be kept at hand and to access headsails kept inside the forward section of the boat.
The halyards are led through eyes above deck level, which are anchored to part of the mast step. This appears to be a very secure way of anchoring running gear.
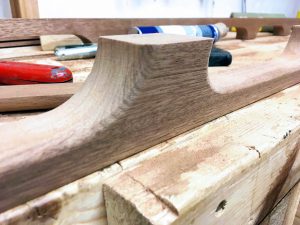
Finally, the hand-rails were carefully sculpted from solid pieces of mahogany and prepared with a continuous rebate for the T-bolts that hold it to the deck, through every beam. The hand-rails will be varnished before being bolted down, capped and faired. The final coats of varnish can then be applied safe in the knowledge that the hidden undersides of the cut-outs are well covered.
